Setup
Install docker
Install docker desktop to run your app locally
Create your codebase
Create your codebase using thellm-os template
llm-os with the following structure:
Set Credentials
We use gpt-4o as the LLM, so export yourOPENAI_API_KEY. You can get one from OpenAI if needed.
EXA_API_KEY. You can get one from here if needed.
Run LLM OS
We’ll build a simple front-end for the LLM OS using streamlit. Start theapp group using:
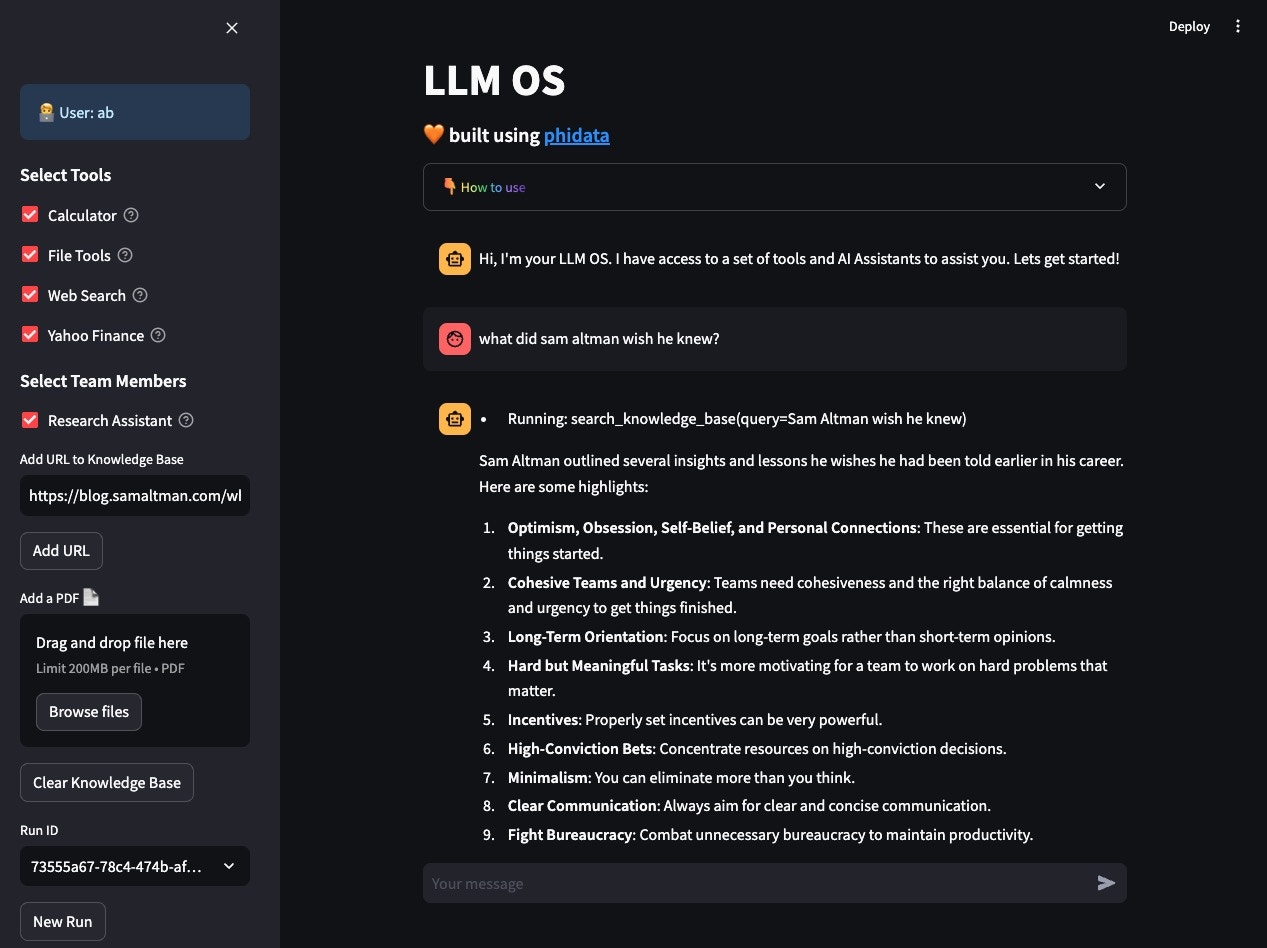
LLM OS
- Open localhost:8501 to view your LLM OS.
- Enter a username.
- Add blog post to knowledge: https://blog.samaltman.com/what-i-wish-someone-had-told-me and ask: what did sam altman wish he knew?
- Test Web search: Whats happening in france?
- Test Calculator: What is 10!
- Test Finance: What is the price of AAPL?
- Test Finance: Write a comparison between nvidia and amd, use all finance tools available and summarize the key points
- Test Research: Write a report on Hashicorp IBM acquisition

Optional: Serve your LLM OS as an API
Streamlit is great for building micro front-ends but any production application will be built using a front-end framework like next.js backed by a RestApi built using FastApi. Your LLM OS comes with ready-to-use FastApi endpoints.Enable FastApi
Update the
workspace/settings.py file and set dev_api_enabled=Trueworkspace/settings.py
View API Endpoints
- Open localhost:8000/docs to view the API Endpoints.
- Test the
v1/assitants/chatendpoint with
Build an AI Product using the LLM OS
Yourllm-os comes with pre-configured API endpoints that can be used to build your AI product. The general workflow is:
- Call the
/assitants/createendpoint to create a new run for a user.
- The response contains a
run_idthat can be used to build a chat interface by calling the/assitants/chatendpoint.
api/routes folder and can be customized to your use case.
Delete local resources
Play around and stop the workspace using:Next
Congratulations on running your LLM OS locally. Next Steps:- Run your LLM OS on AWS
- Read how to update workspace settings
- Read how to create a git repository for your workspace
- Read how to manage the development application
- Read how to format and validate your code
- Read how to add python libraries
- Chat with us on discord